
How to Install a Combustible Gas Alarm System?
Publication Date:2025/08/15Flammable gas alarm systems are critical devices for preventing explosions, fires, or poisoning incidents caused by gas leaks, and are widely used in residential kitchens, industrial facilities, restaurants, and other settings. Major countries worldwide have enacted legislation mandating the installation of such systems in gas-using facilities. For example, China's Occupational Safety and Health Law requires the installation of flammable gas alarm devices in the catering industry, while international standards such as the EU CE certification and the US UL standard also impose specific performance requirements on such equipment. Prior to installation, it is essential to verify local regulations and select products that comply with certification standards (such as GB15322, EN50194, ISO9001).

I. System Composition and Working Principle
A typical alarm system consists of three components:
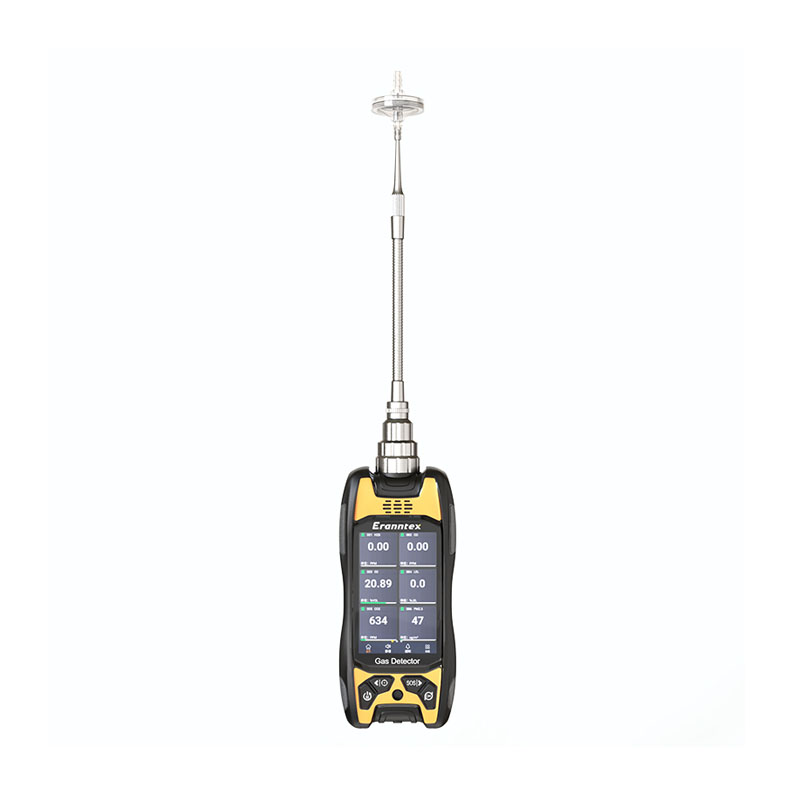
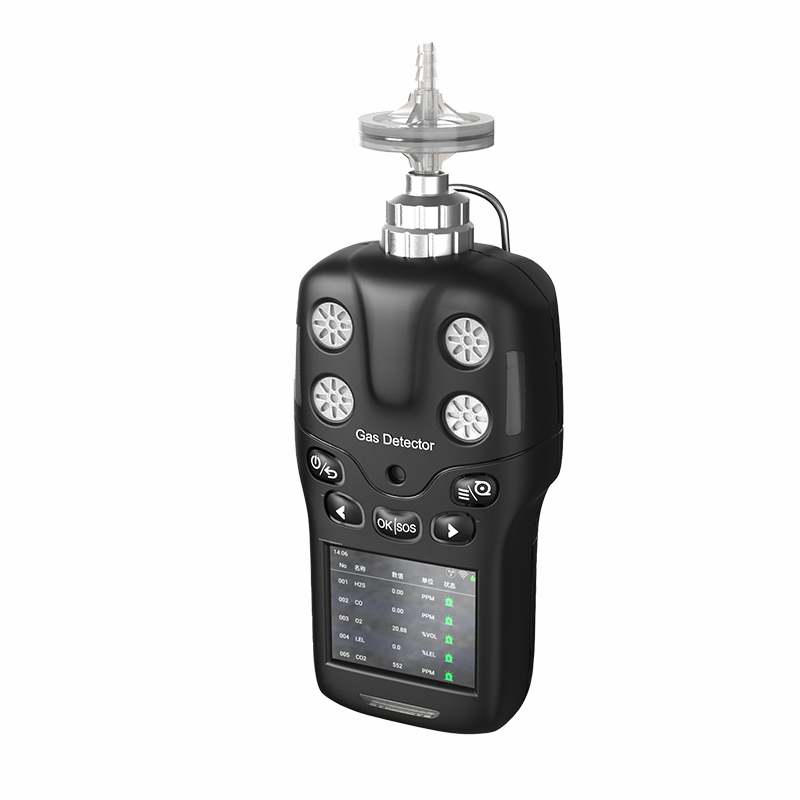
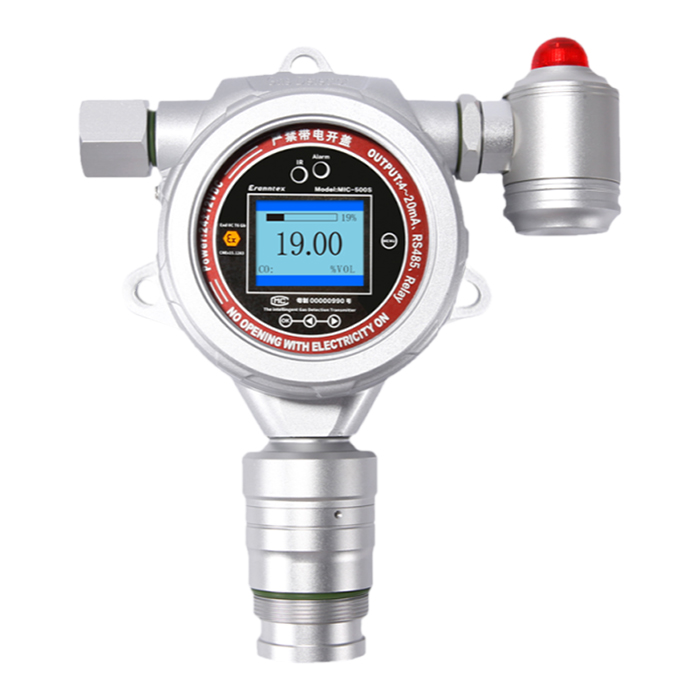
Detectors: The core sensors are divided into catalytic combustion-type (detecting methane, propane, etc.) and infrared-type (detecting liquefied gas, hydrogen, etc.), which trigger alarms by monitoring changes in gas concentration.
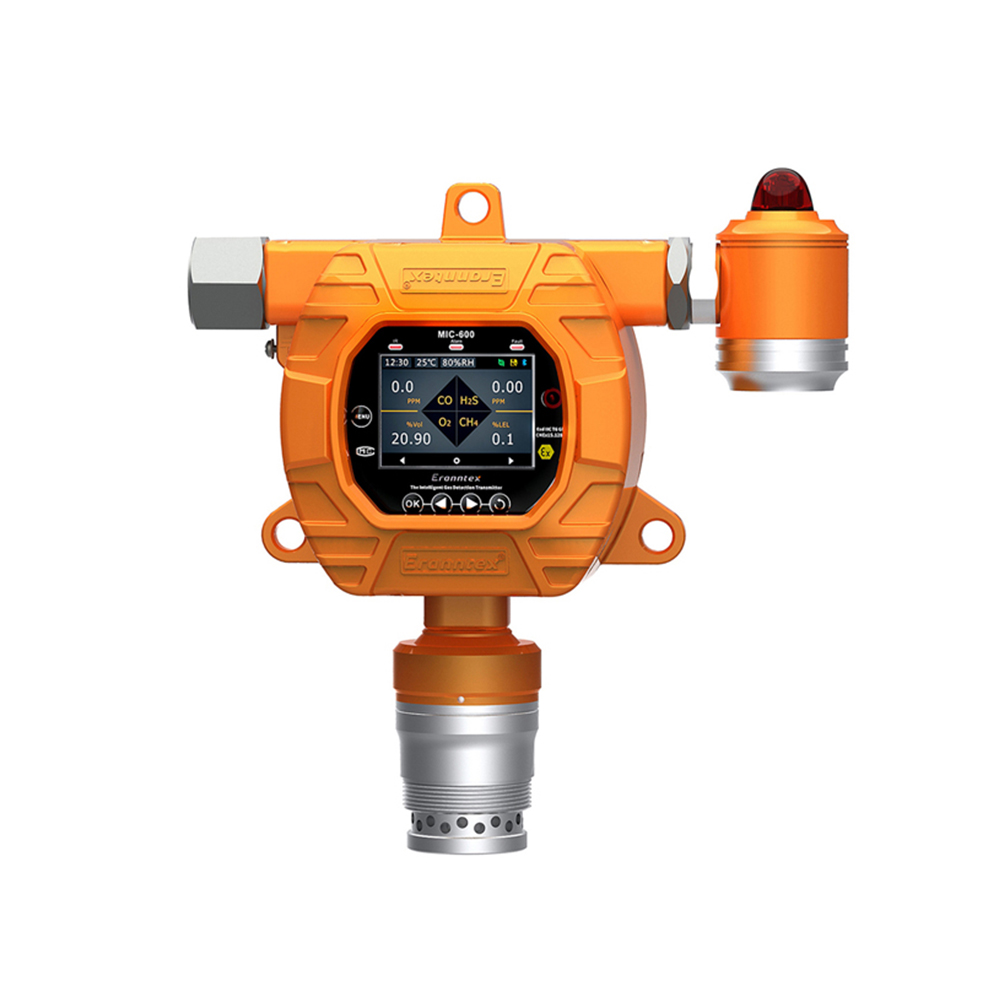
Controller: Receives signals from detectors, displays concentration values, triggers audible and visual alarms (with two distinct tones for fault alarms and concentration alarms), and coordinates with devices such as exhaust fans and electromagnetic valves.
Interlocking devices: Includes electromagnetic shut-off valves (automatically closing gas pipelines) and exhaust systems (accelerating gas dispersion). Some high-end models are equipped with a black box function, which records alarm history and fault codes.
II. Installation Standards by Scenario
1. Indoor Installation Guidelines
Location Selection:
When detecting gases heavier than air (e.g., liquefied gas), the detector should be installed 0.3–0.6 meters above the ground to avoid water damage. When detecting gases lighter than air (e.g., natural gas), the installation height should be 0.5–2 meters above the release source, typically within 0.3 meters below the ceiling.
Avoid areas with strong airflow, such as direct exhaust vents, exhaust fans, doors, and windows, to prevent rapid dilution of the gas and false negatives.
In kitchen scenarios, the horizontal distance between the detector and the gas stove should be greater than 1.5 meters and less than 4 meters to avoid interference from cooking fumes.
Coverage range:
In small spaces (such as home kitchens), detectors should be evenly distributed based on the protection radius, with the distance between the detector and the release source not exceeding 7.5 meters, or the distance between two detectors not exceeding 15 meters.
In large spaces (such as industrial plants), adjustments should be made based on ventilation conditions. If there are extensive ventilated areas, detectors should be installed according to outdoor standards.
2. Outdoor Installation Guidelines
Detectors should be installed on the upwind side of the combustible gas release source at the direction of the lowest annual wind frequency, with a distance from the release source not exceeding 15 meters; if located on the downwind side, the distance must be reduced to within 5 meters.
Outdoor equipment must have IP65-rated waterproof and dustproof capabilities to prevent rainwater corrosion causing circuit failures.
3. Special Scenario Adaptations
Basements/Enclosed Spaces: Ventilation systems must be installed and integrated with the alarm system to ensure rapid air exchange in case of a leak.
High-Rise Buildings: Bottled liquefied petroleum gas is prohibited. Natural gas detectors must be installed using a ceiling-mounted method to expand the monitoring range.
4. Installation Process and Testing
Wiring Connections:
Use a four-core shielded cable (RVS 2×2.5 mm²) to connect the detector to the controller, with the wire sequence following the “red-black-yellow-green” standard to prevent polarity errors.
The controller must be connected to the AC 220V main power supply and equipped with a 36V DC backup battery to ensure continuous operation for over 8 hours in the event of a power outage.
Mounting and Calibration:
The controller should be wall-mounted at a height of 1.4 meters for ease of operation; The detector should be secured to the wall using expansion screws, ensuring the sensor faces downward.
After powering on, the system performs a 3-second self-check. Check the LED indicator status: if the main power/backup power fault lights are on, press the corresponding switch to reset.
Functional Testing:
Use a lighter to release a small amount of gas near the detector. Within 1–3 minutes, the controller should display the concentration value and trigger a high-alarm (a long, rapid alarm sound).
Testing interlocking functions: During a simulated leak, the solenoid valve should automatically close, and the exhaust fan should activate. Resetting requires entering the controller password (commonly “422” or “1111”).
5. Maintenance and Troubleshooting
Routine maintenance:
Clean the detector surface of dust weekly; avoid using corrosive cleaners. Check the backup battery charge monthly. Calibrate sensor sensitivity annually by a professional institution.
Common Faults:
False Alarms: Check if the installation location is near steam sources or high-temperature equipment; adjust the detector angle or relocate it.
No Response: Verify if the wiring connections are loose; replace damaged sensors or the controller mainboard.
By adhering to the above guidelines, the combustible gas alarm system can effectively reduce accident risks and provide reliable protection for life and property safety.
Related information
-
Can a carbon dioxide detectors detect low oxygen levels?
In modern society, carbon dioxide detectors are becoming increasingly common—whether in the ventilation systems of commercial bui...
2026-04-17 -
The Role of Carbon Monoxide Detectors
In industrial settings worldwide, carbon monoxide is a common yet extremely dangerous toxic gas. It is colorless, odorless, and no...
2026-04-15 -

What is the alarm concentration for nitrogen oxide detectors?
In the fields of industrial safety, environmental monitoring, and occupational health, nitrogen oxides (NOₓ)—especially nitric o...
2026-04-14 -
The Principle of Nitrogen Oxide Detectors
Globally, with the acceleration of industrialization and the advancement of urbanization, air quality has become a central issue f...
2026-04-13 -
Five-Point Inspection Method for Nitrogen Oxide Detectors
For users, the reliability of Nitrogen Oxide Detectors is directly linked to environmental compliance, industrial safety, and publ...
2026-04-10


 info@eranntexgas.com


 13480931872