Calibration Specifications for Nitrogen Oxide Detectors
Publication Date:2026/01/05In fields such as industrial emissions monitoring, ambient air quality assessment, and motor vehicle exhaust testing, nitrogen oxide detectors play a critical role. However, regardless of how advanced the equipment may be, without regular and standardized calibration, the accuracy and reliability of its measurement results cannot be guaranteed. For users, adhering to a clear, systematic calibration process compliant with international standards is not only a prerequisite for meeting regulatory requirements but also the foundation for ensuring data credibility. Below, Yiyuntian Eranntex details the standard calibration specifications for nitrogen oxide detectors, assisting global users in establishing a scientific and efficient maintenance system.
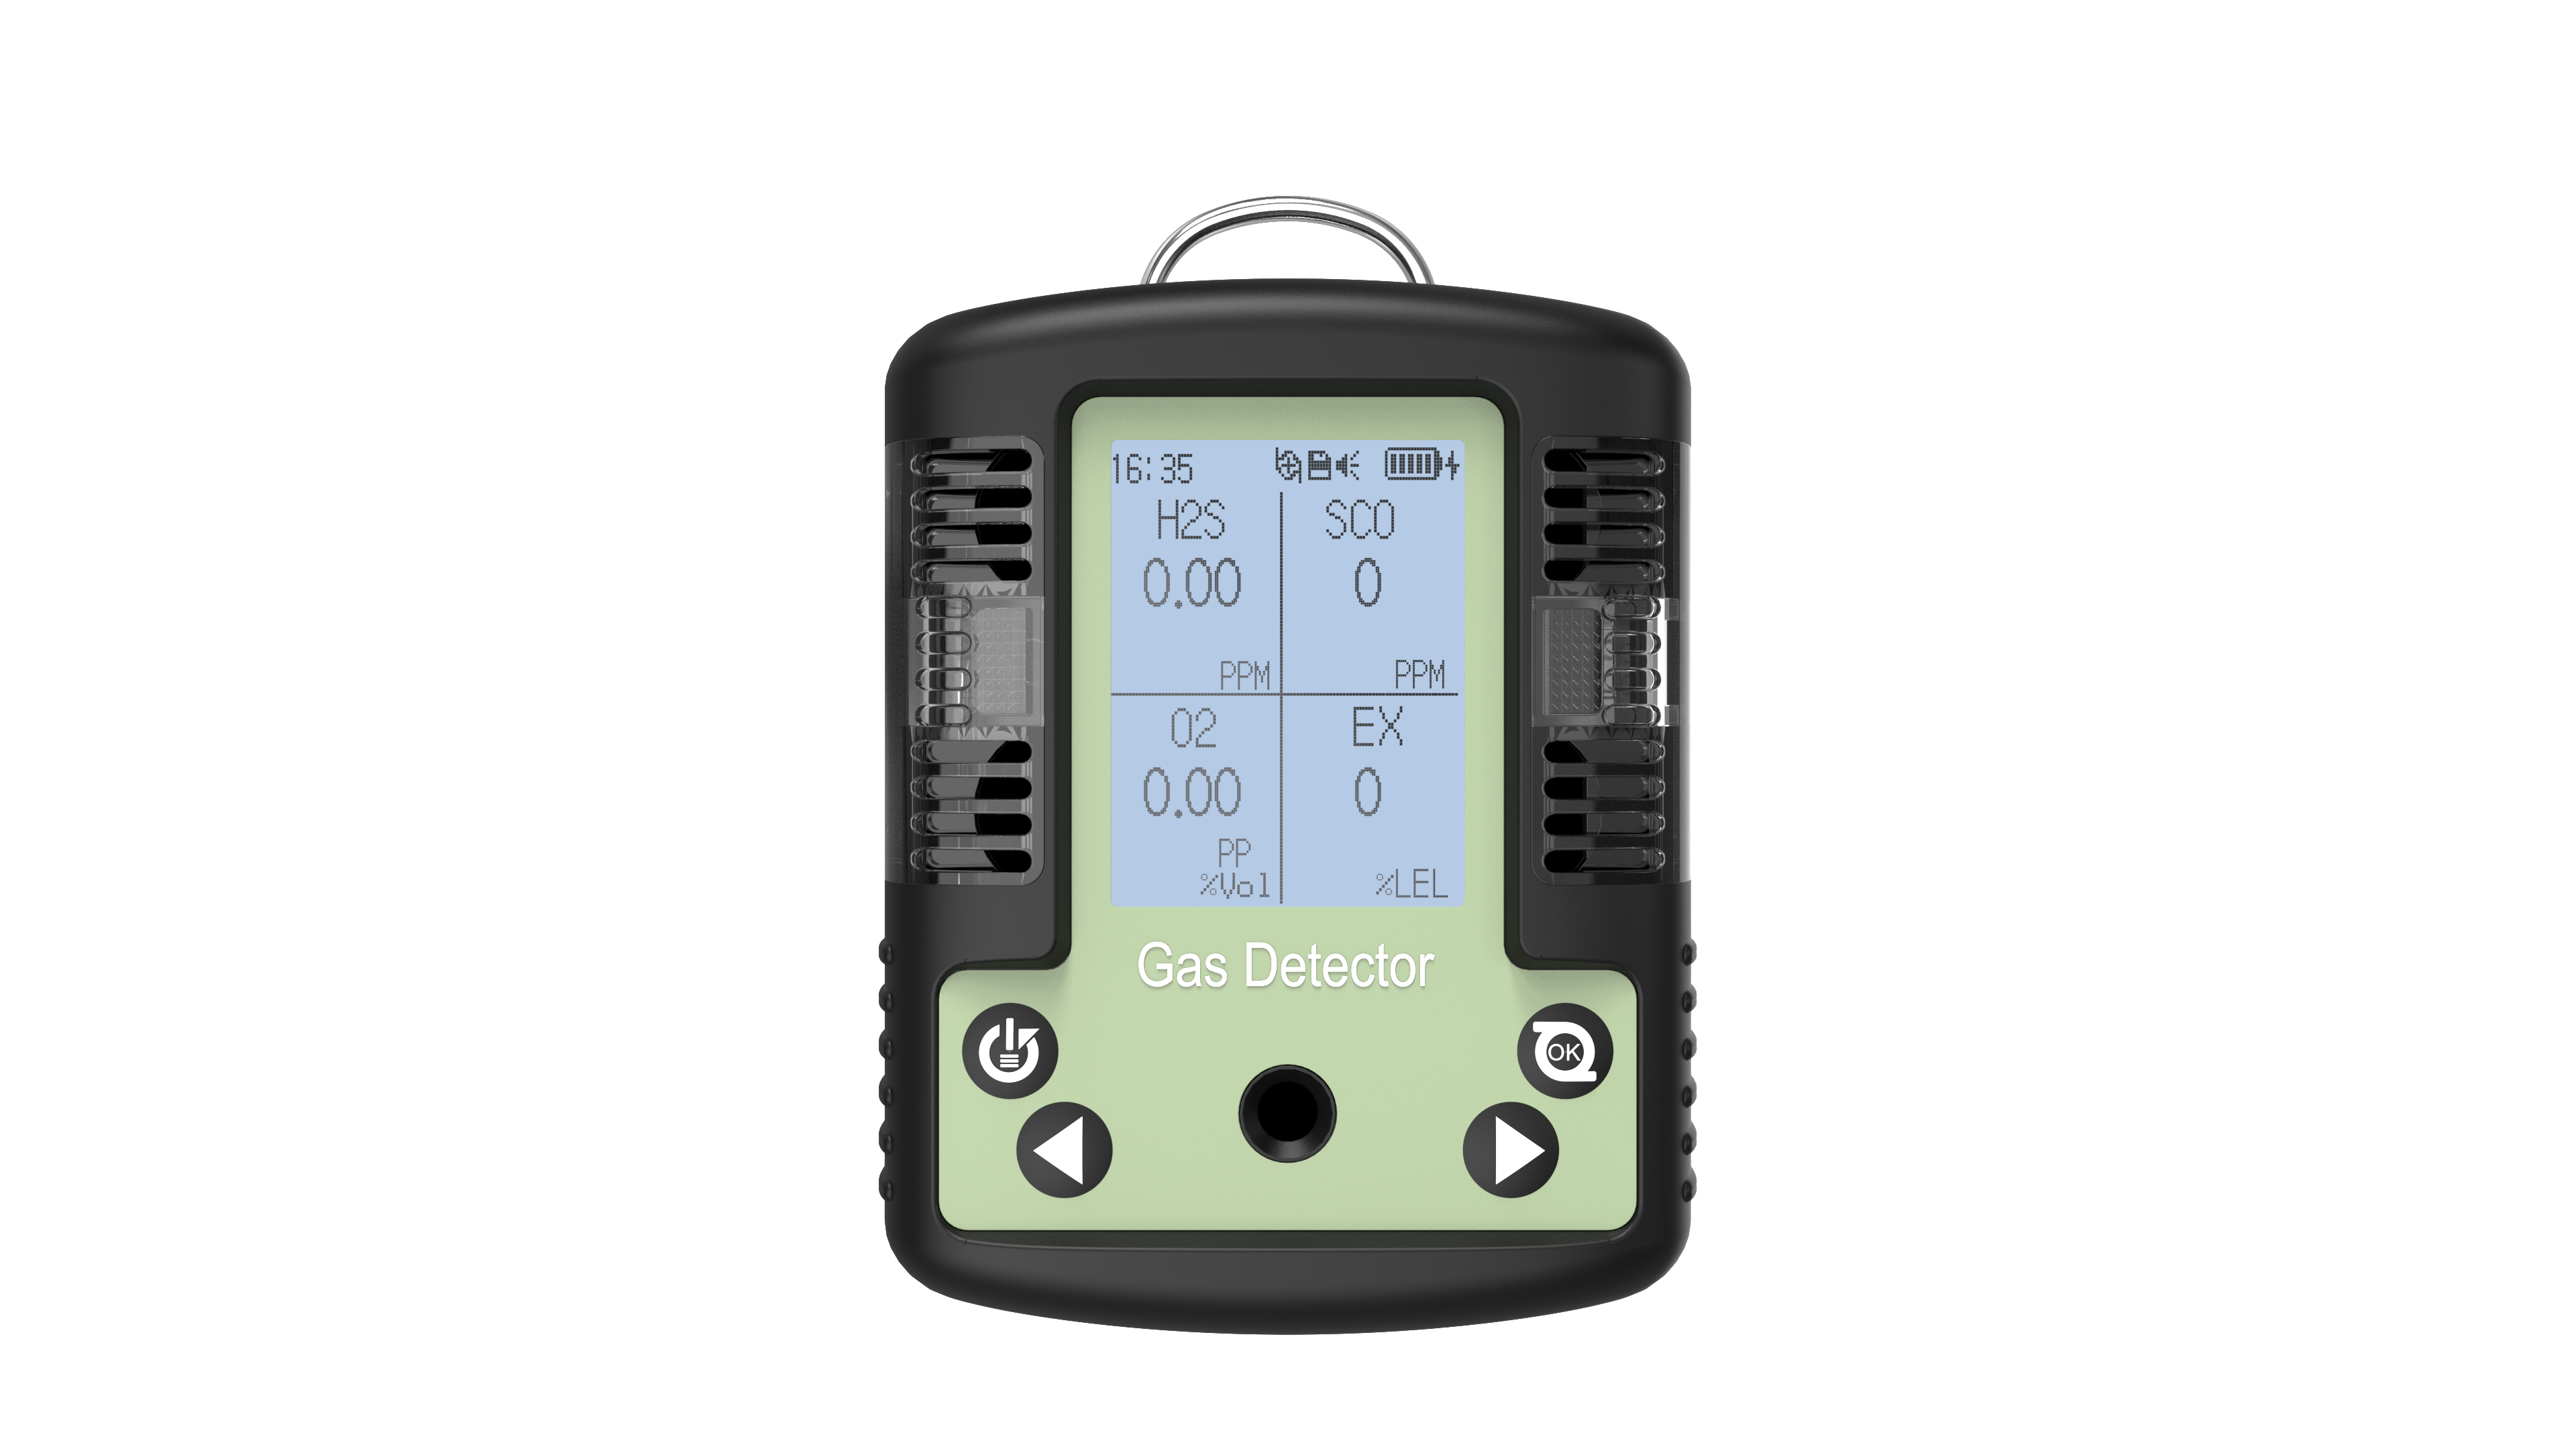
I. Fundamental Principles and Calibration Frequency
The core objective of calibration is to verify and adjust an instrument's response, ensuring its measurements align with known concentrations of standard gases. According to internationally recognized standards such as ISO 17025, EPA Method 7E, and EN 14181, periodic calibration of NOₓ detectors is recommended. Under routine conditions, comprehensive calibration should be performed at least every 30 days. For equipment used in high-precision regulatory applications or Continuous Emission Monitoring Systems (CEMS), daily zero and span checks are required, supplemented by weekly multi-point calibration. Additionally, recalibration must be performed immediately after sensor replacement, equipment maintenance, or detection of abnormal readings.
II. Required Reference Materials and Equipment
High-quality calibration relies on standard gases traceable to national or international standards. Two types of standard gases are typically used: zero gas (e.g., high-purity nitrogen or synthetic air free of NO₂) and span gas (a mixture containing known concentrations of NO and/or NO₂, with a concentration close to 80% of the instrument's full scale). All standard gases must be accompanied by valid certificates specifying composition, uncertainty, and expiration date. Additionally, certified mass flow controllers (MFCs), pressure regulators, clean and dry tubing systems, and a software platform for data recording and analysis are required.
III. Calibration Procedure
The calibration process typically includes the following steps:
Preheat and Stabilize: Power on the detector and preheat for the manufacturer's recommended duration (usually 15–30 minutes) to ensure internal sensors and circuits reach a stable state.
Zero Calibration: Introduce zero gas into the instrument. After readings stabilize, execute the “Zero Correction” function to set the output to zero.
Span Calibration: Switch to span gas. After response stabilizes (usually 2–5 minutes), record the actual reading and compare it with the standard value. If the deviation exceeds the allowable error (generally ±2% of full scale), adjust the gain or perform an automatic calibration procedure.
Multi-Point Verification (Optional but Recommended): Perform linearity verification using at least three standard gases of different concentrations (e.g., 20%, 50%, 80% of full scale) to ensure proper response across the entire measurement range.
Recording and Reporting: Document in detail the calibration date, operator, standard gas information, pre- and post-calibration readings, adjusted parameters, and final results. This documentation is critical for audits, compliance, and fault traceability.
IV. Quality Control and Common Misconceptions
To ensure calibration validity, observe these precautions: Avoid expired or contaminated standard gases; ensure leak-free tubing made of non-NOₓ-adsorbing materials (stainless steel or Teflon recommended); maintain calibration environment within instrument-specified temperature and humidity ranges; never rely solely on automatic calibration without verifying actual performance. Additionally, NO₂ comprises NO and NO₂. Some instruments measure only NO directly, then calculate total NO₂ by converting it to NO via a catalytic converter. Therefore, during calibration, clearly identify the instrument type and use matching gases (e.g., NO-only gas or NO+NO₂ mixed gas).
Proper calibration is not merely a technical operation but a vital component of quality management. For users targeting international markets, strictly adhering to the above calibration procedures not only enhances the accuracy of monitoring data but also strengthens credibility in environmental compliance, trade certification, and scientific collaboration. Investing in correct calibration practices is an investment in long-term data reliability and operational efficiency.
Related information
-
Why Does a Four-in-One Detectors Not Respond After Powering On?
In industrial safety, confined space entry, or emergency response scenarios, a four-in-one detectors is a critical piece of equipm...
2026-04-21 -

How to Calibrate a Four-in-One Detectors to Meet International Standards?
In industrial safety, emergency response, and confined space operations, four-in-one detectors serve as the first line of defense ...
2026-04-20 -
Can a carbon dioxide detectors detect low oxygen levels?
In modern society, carbon dioxide detectors are becoming increasingly common—whether in the ventilation systems of commercial bui...
2026-04-17 -
The Role of Carbon Monoxide Detectors
In industrial settings worldwide, carbon monoxide is a common yet extremely dangerous toxic gas. It is colorless, odorless, and no...
2026-04-15 -

What is the alarm concentration for nitrogen oxide detectors?
In the fields of industrial safety, environmental monitoring, and occupational health, nitrogen oxides (NOₓ)—especially nitric o...
2026-04-14



 info@eranntexgas.com


 13480931872