
What are the numerical correction methods for oxygen detectors?
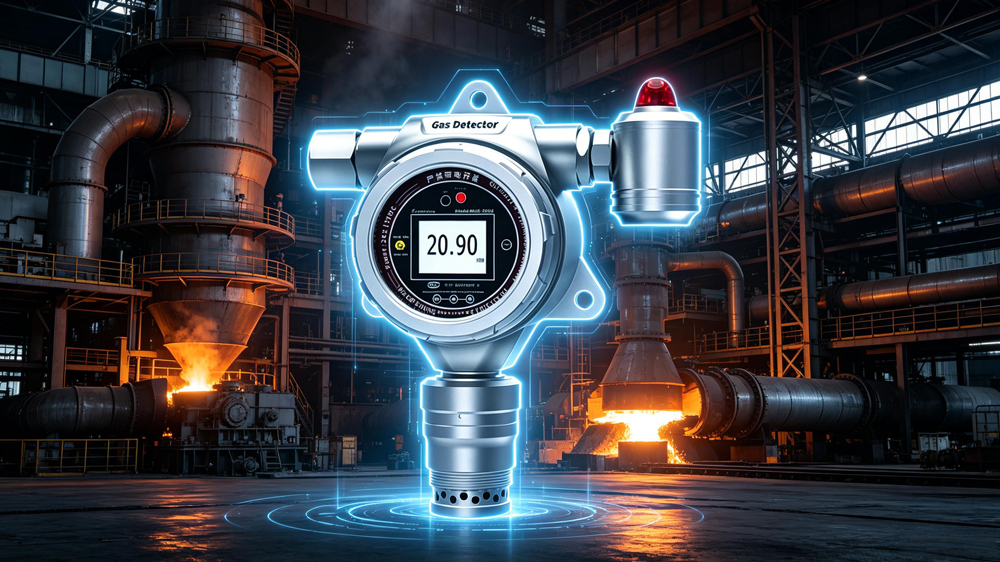
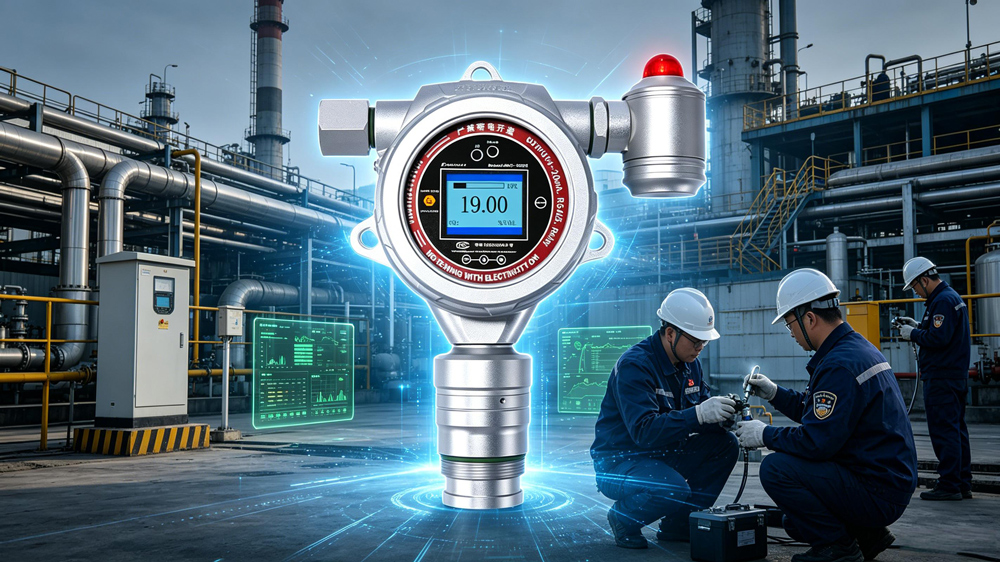
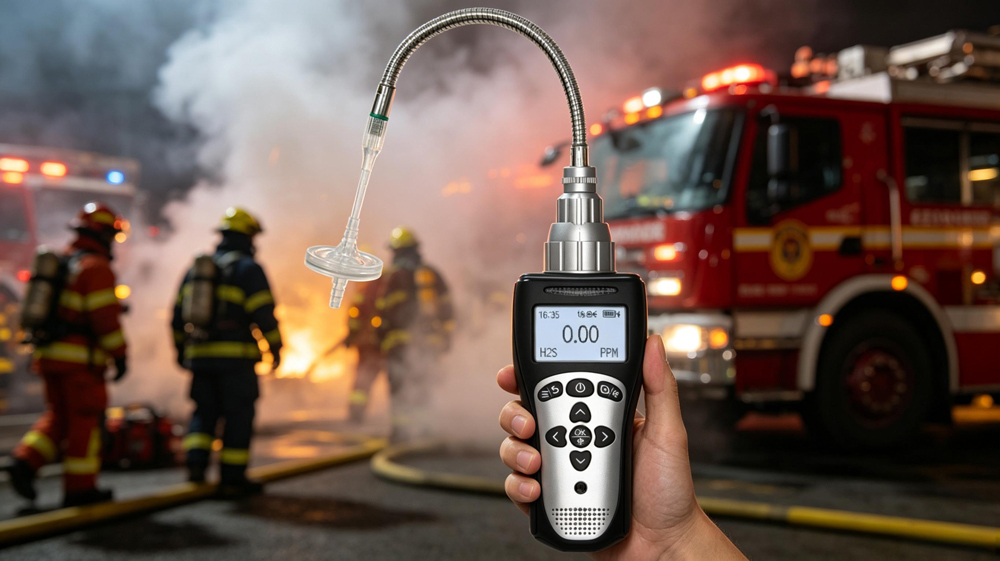
Publication Date:2025/02/24 Nowadays, oxygen detectors have become the key equipment for monitoring the oxygen concentration in the environment, and play an indispensable role in many fields such as industrial production, medical rescue, and fire rescue. However, if we want to ensure that the measurement results of the oxygen detector are accurate, it is particularly important to carry out numerical correction on a regular basis, which is an important guarantee to ensure the stable performance and reliable data of the oxygen detector. Do you know the numerical correction methods of oxygen detector ? The following is an introduction to yiyuntian electronic editor:

the numerical correction method of oxygen detector mainly includes zero point correction and range correction. the following are the specific correction steps:
1. zero correction
br/>
(1) Preparation:
Turn off and disconnect the power supply of the oxygen detector and prepare an environment with a known oxygen concentration of 0%. High purity nitrogen gas (such as 99.999 pure nitrogen) can usually be used to create an oxygen-free environment.Ensure that the gas used is of high purity to avoid interference with the calibration results. In addition, we need to check whether the appearance of the oxygen detector is intact, whether it is damaged or contaminated, to ensure the accuracy and safety of the correction.
(2) Enter calibration mode:
According to the requirements of the instrument manual, turn on the oxygen detector and warm it up for a period of time to reach a stable state. At the same time, according to the model and manual of the oxygen detector, the calibration mode should be entered according to the specific key combination or operation sequence.
(3) Zero gas:
In the calibration mode, the prepared high-purity nitrogen gas is introduced into the oxygen detector through the appropriate pipeline. At the same time, adjust the flow controller, so that the gas flow into the oxygen detector to meet the requirements of the instructions, in order to avoid the flow is too large or too small and affect the correction results.
(4) Set the zero point:
Wait for a period of time. After the reading of the oxygen detector is stable, use the tool or button attached to the instrument to set the oxygen concentration displayed by the instrument to 0%.
(5) Verify the calibration results:
After completing the zero setting, recheck the oxygen tester display to make sure it shows 0%. If the displayed value is not 0%, repeat the above steps until the exact zero point is reached.
(6) Record the calibration information:
It is recommended to record the time, environmental conditions and results of the zero correction each time. This helps to track the performance of the oxygen detector and troubleshoot when needed.
(1) Prepare standard gas:
Prepare oxygen standard gas with known concentration, and usually select key points such as 20%, 50% and 80% of the full scale to calibrate the oxygen detector.
(2) Pass standard gas:
After the oxygen detector is turned on and warmed up for 30 minutes, fill in the prepared oxygen standard gas in sequence. At the same time, it should be ensured that the incoming gas flow rate meets the requirements of the oxygen detector instructions.
(3) Read and compare values:
Read the oxygen concentration value after the reading of the oxygen detector is stable. The read oxygen concentration value is compared with the concentration value of the standard gas to calculate the error value.
(4) Adjust the calibration parameters:
If the error value is large, you need to adjust the calibration parameters of the oxygen detector according to the error value. Select user calibration according to the menu key of the oxygen detector, enter the calibration interface, and select range calibration. Modify the displayed value by pressing the key to match the "Standard Gas Nominal Value", and press and hold the key to quickly modify it. After the modification, the value should be saved by pressing the confirmation key and automatically enter the range calibration.
(5) Verify the calibration results:
When the oxygen detector is calibrated, pass in the zero gas again for verification to ensure that the calibration is correct. This process is repeated several times until the calibration value substantially coincides with the actual value.
In summary, it is the numerical calibration method of the oxygen detector.Whether it is zero correction or span correction, users need to strictly follow the instructions and calibration specifications to ensure the accuracy and reliability of the correction results. Only in this way can we ensure that the oxygen detector provides accurate and reliable oxygen concentration data at critical moments, so as to protect people's life safety and health.
Related information
-
How do you replace the sensor in a combustible gas detectors?
Combustible gas detectors serve as indispensable \"sentinels\" in industrial safety, with the sensor acting as the device\'s \"hea...
2026-07-10 -
How Should Combustible Gas Detectors Alarm Setpoints Be Configured?
For facility managers, safety engineers, and operations and maintenance personnel, scientifically setting alarm thresholds for com...
2026-07-08 -
What are the international certification standards for combustible gas detectors?
In the realm of global industrial safety, combustible gas detectors serve not only as early warning tools to prevent fires and exp...
2026-07-06 -

How to Troubleshoot Common Hardware Faults in four-in-one detectors?
In the field of industrial safety, the four-in-one detectors serves as the final line of defense for worker safety. For facility...
2026-07-03 -
What is the battery life of a Four-in-One Detectors?
In the field of industrial safety, the battery life of a Four-in-One Detectors directly impacts both worker safety and operational...
2026-07-01

 info@eranntexgas.com sale1@eranntexgas.com


 15914124845